Introduction
The "Change State" action allows you to automate the process of changing an object's state. Using this feature, you can define an action that specifies the desired state the object should move into. Once the action is defined, it can be applied to triggers or buttons.
Let's say you want to change the state of a ticket to "Created" when the user clicks on a submit button. To achieve this, you can define an action to change the state to "Created" and apply that action to the submit button. Thus, when the user clicks on the submit button, the state of the RMA will change to "Created".
Steps to create a Change State action
To create a Change State action,
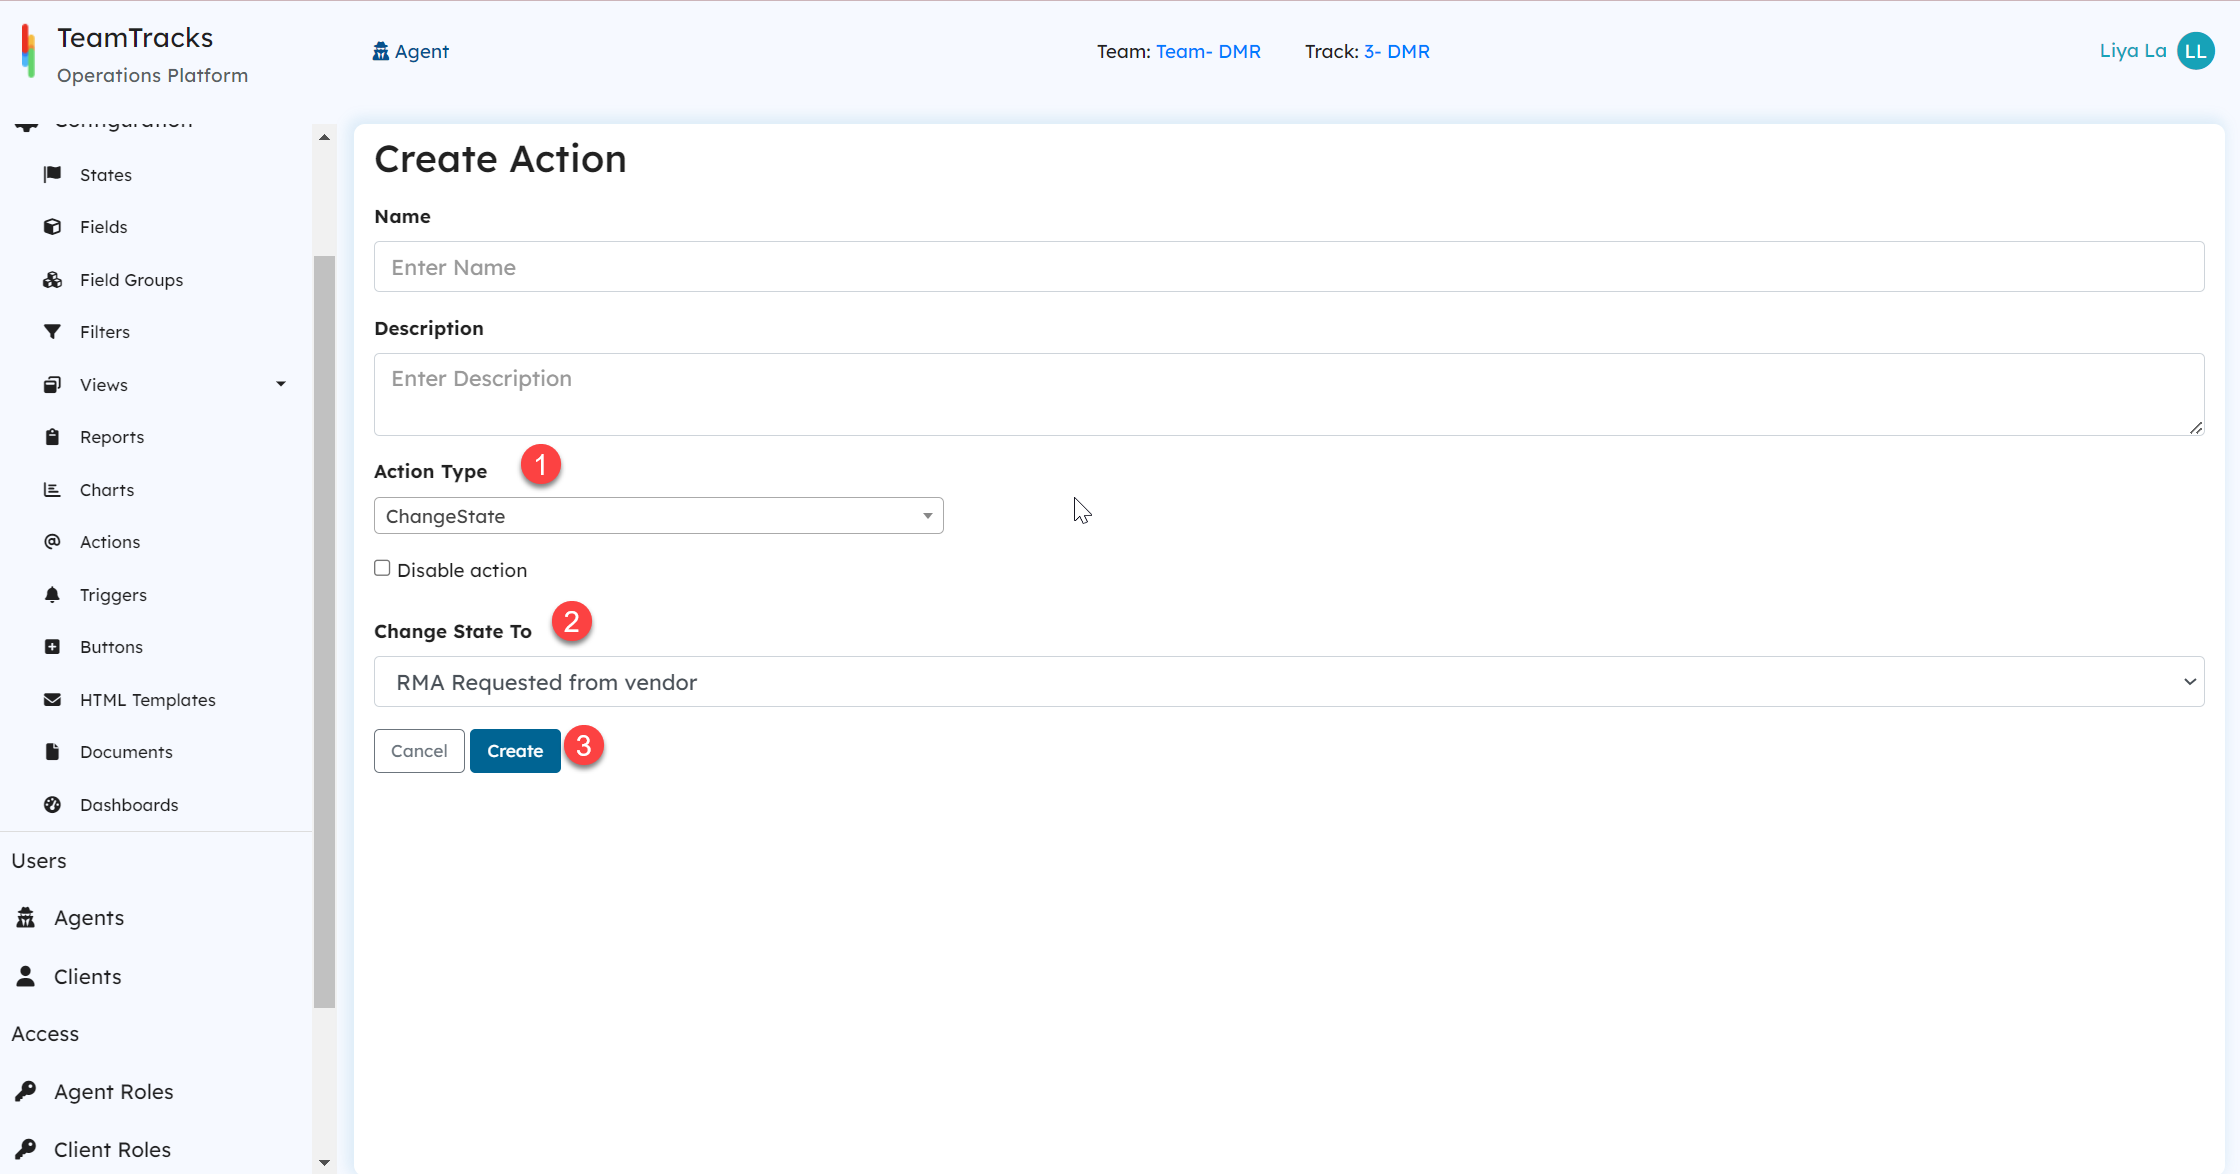
Provide a Name and Description of your action.
- Select ChangeState as Action Type.
- Select the desired state from the dropdown Change State To. This dropdown will list all the defined states within selected Track.
- Click on Create button.
 Admin Portal: Create Action screen for Change State