
TeamTracks leverages the FedEx Ship API for organizations to create return shipping labels. If you are a FedEx customer, you can use the FedEx Create Shipment action to automatically create a return label and send it to your client all at the click of a button.
This version of the action is limited to the following
The shipment is on the receiver’s account and is paid by the receiver.
Only one FedEx shipping account can be used.
Prerequisites
FedEx Developer Account
FedEx Shipping Account
Obtaining credentials for Test environment
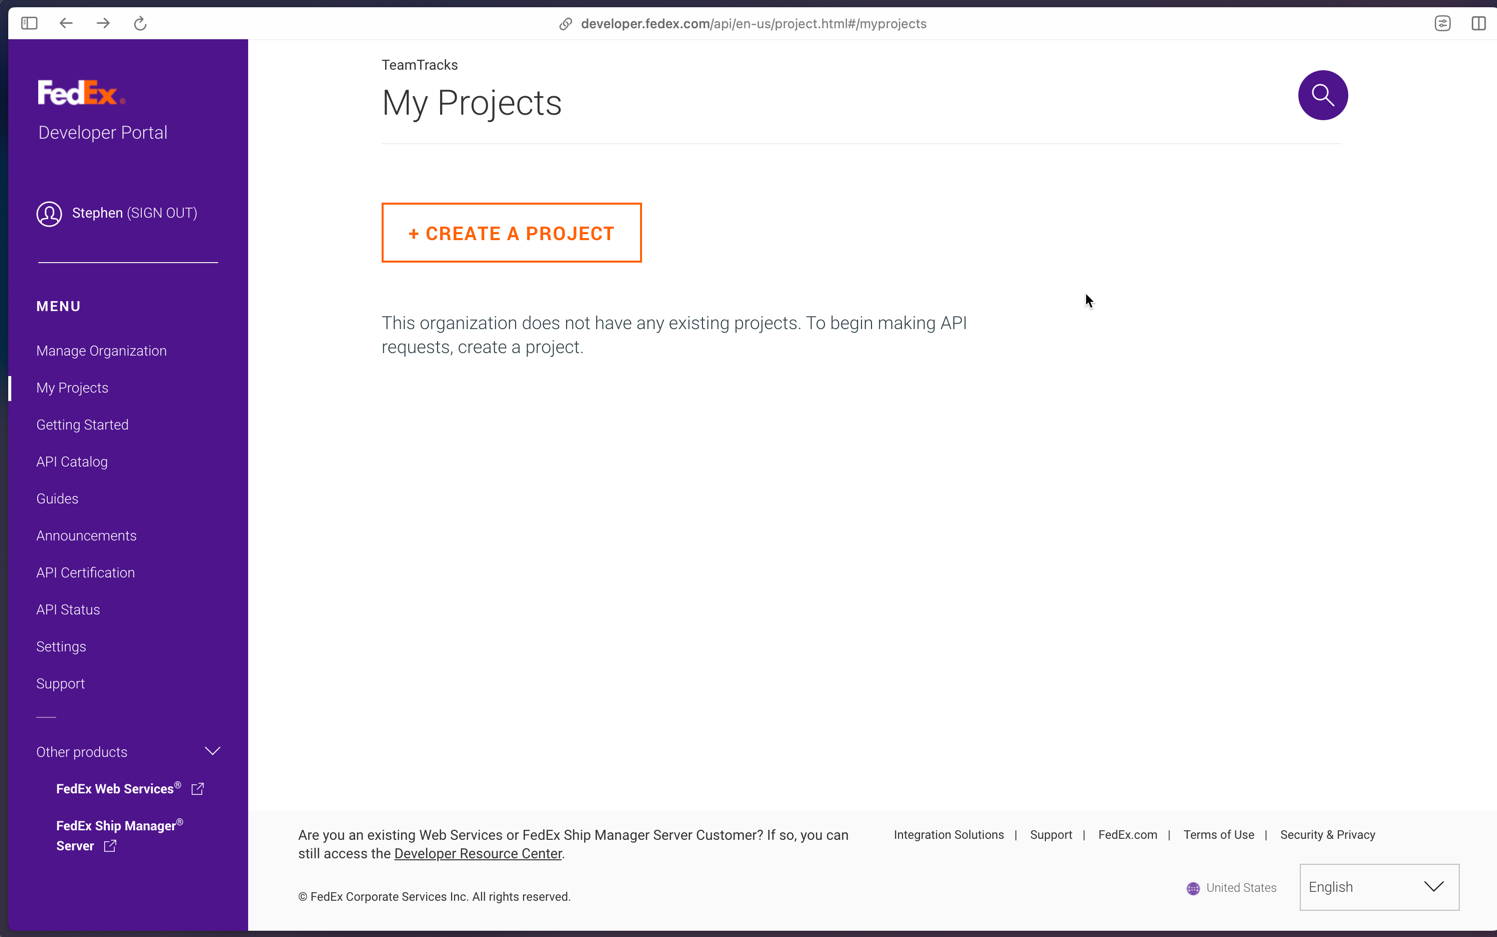
Create a new project in FedEx developer portal with the Ship API to get API key and account number for the FedEx development environment.
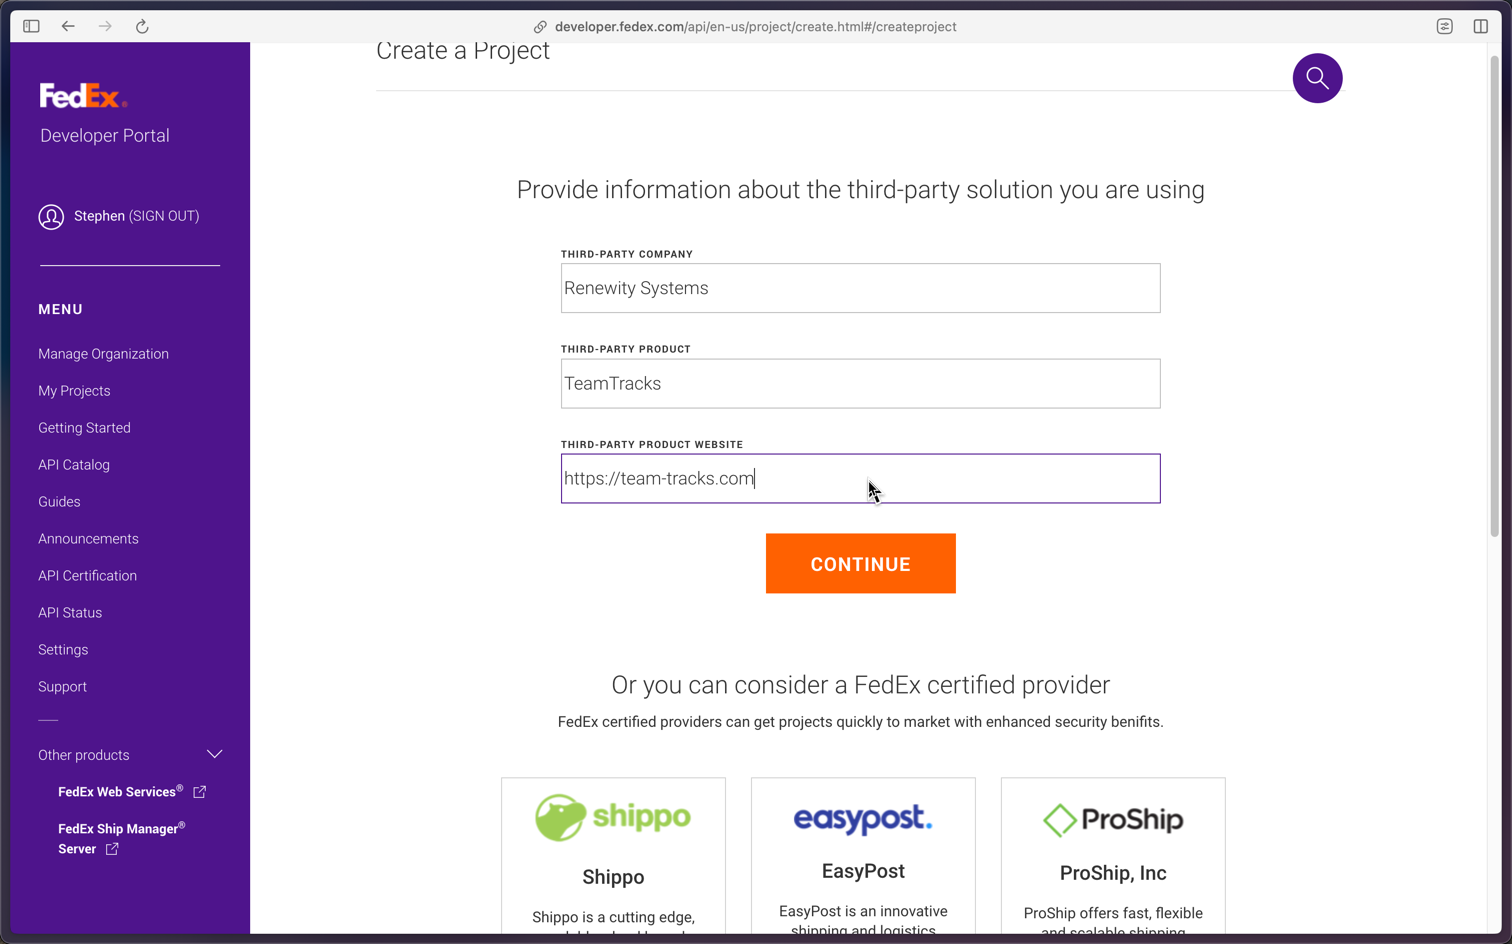
Select ‘Ships with FedEx and is using a third-party software solution that has requested API keys’

Provide info regarding Teamtracks. FedEx will ask you to consider a fedEx certified provider. DO NOT FALL FOR IT. IT IS A TRICK.!!!
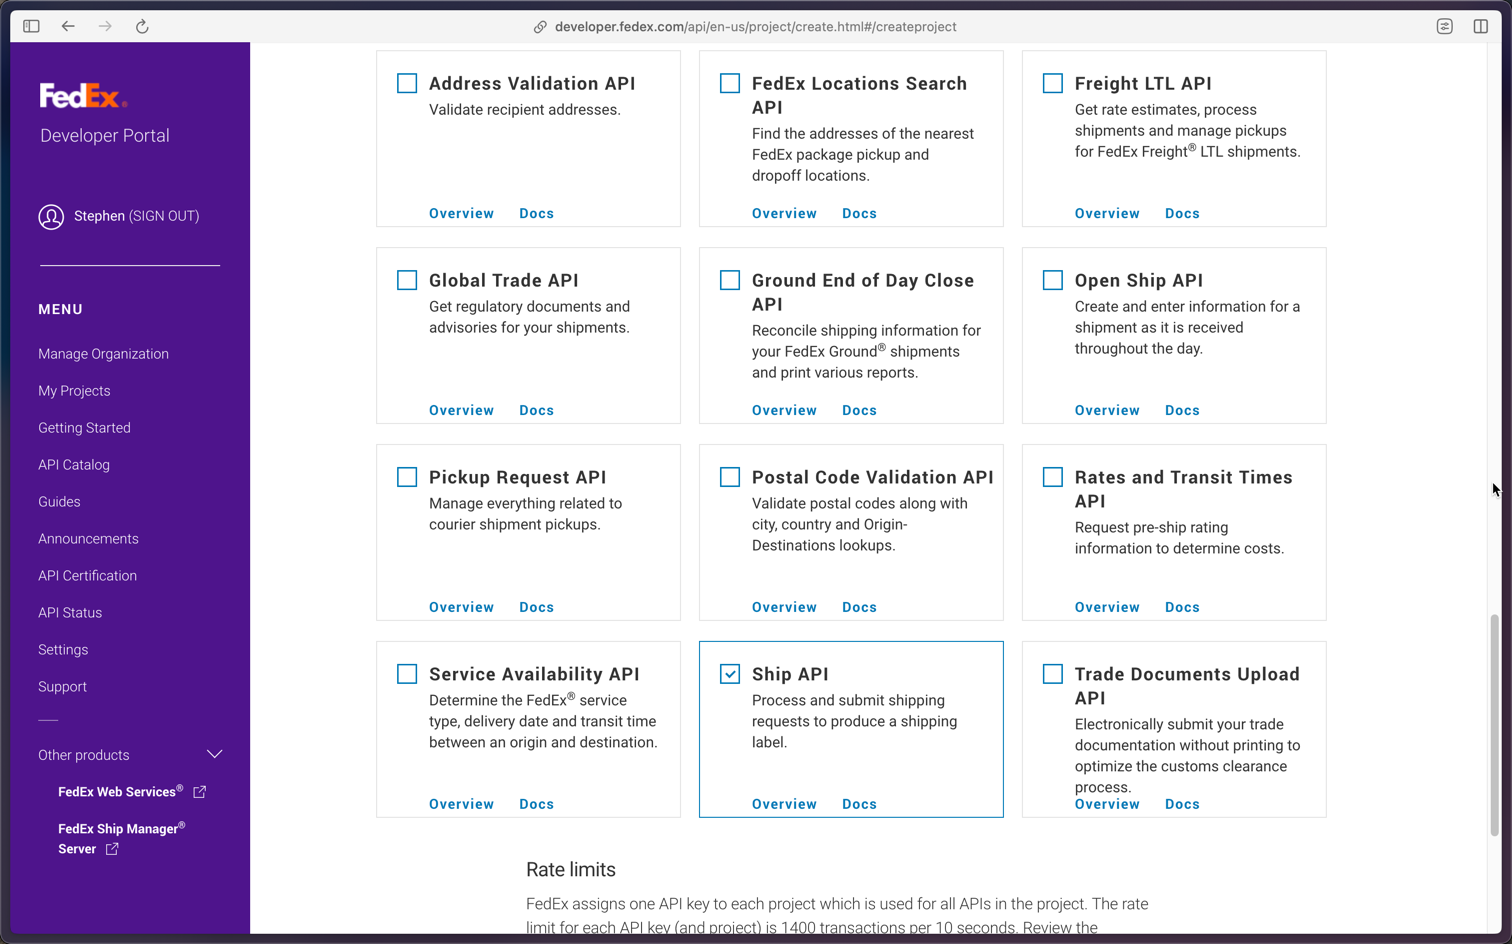
Select Ship API from the table of available APIs

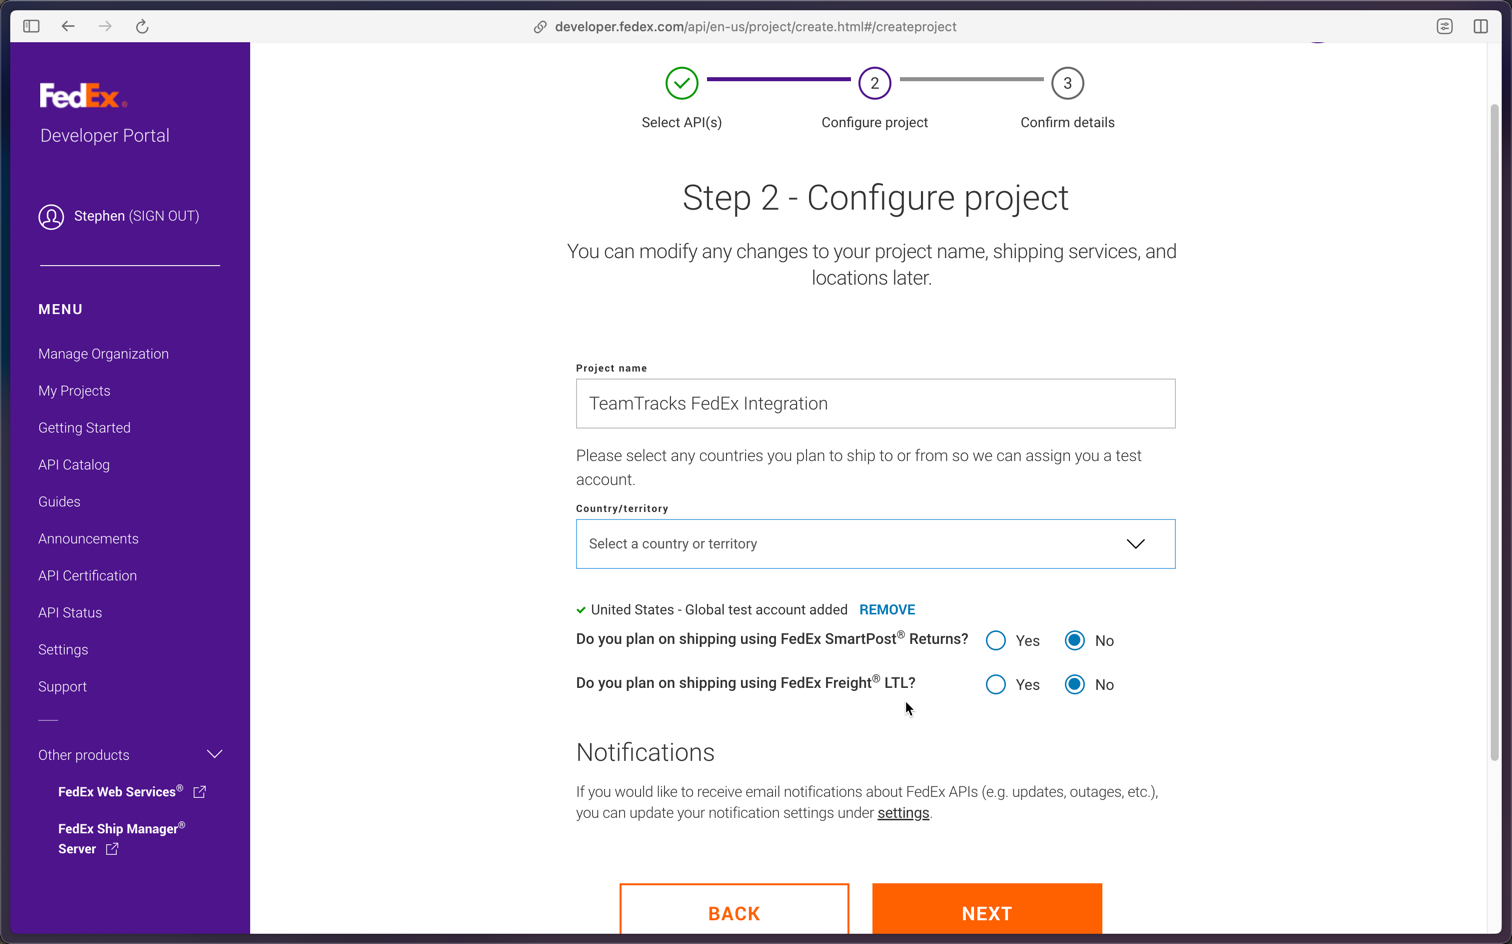
Name the project and add a country. Currently only United States and Canada are supported.
Freight LTL and SmartPost Returns are not supported.
Review and create the project.
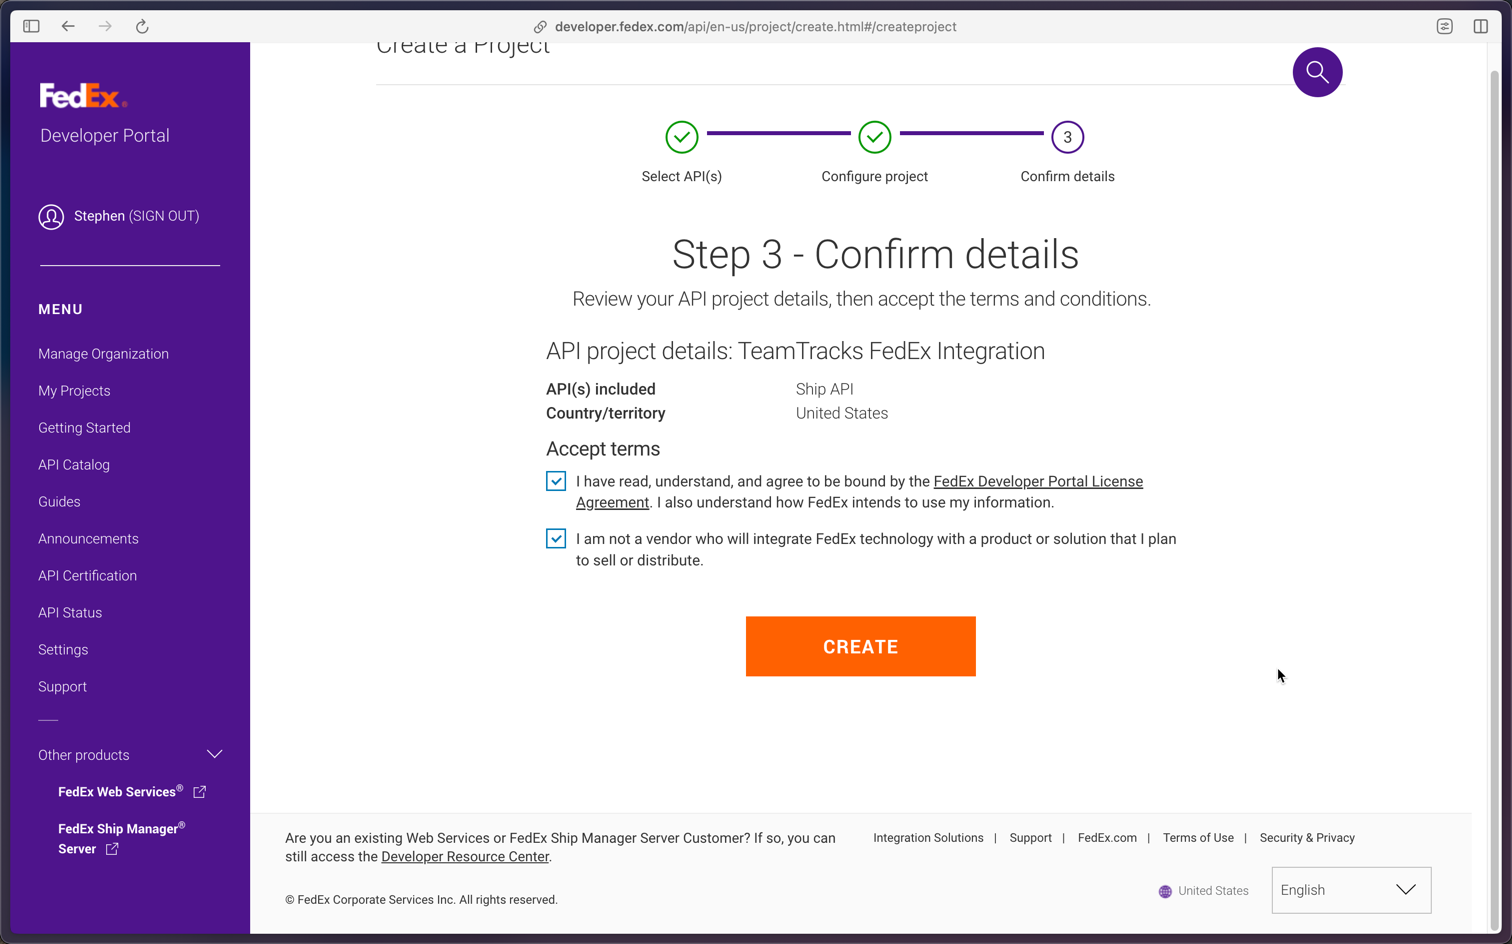
Use your test key to set up the action.
.png "image(9).png")
System Settings
You have the test key, it is time to set up TeamTracks. Start by adding the Test key to TeamTracks under system settings.
Admin—>System Settings—>Shipping
Under the shipping tab, set environment type as development and enter the API key, Secret key and Account number from the ‘Test key’ section of your project.
Production environment will not work until the Ship API is certified by FedEx.
.png "image(10).png")
Setting up the CreateFedExShipment (Beta) Action.
Create the action in the track you need to generate the return shipping labels from.
.png")
Action Setup
The action configuration is broadly divided into 5 main areas.
Shipper Details - Info regarding the shipper, ie your client, who ships the product.
Receiver Details - Info regarding the receiver, ie, you, the company, who receives and pays for the shipping.
Service Details - Info regarding the shipment viz, payment type, pickup type, service type etc.
Package Info - Weight of the package
Response fields - These fields are used to store the FedEx response viz the shipping label, tracking number and cost.
These are all dropdowns that let you select a field from the current track. As admin, you need to create these fields in the track and map them in the action.
Payment Type
FedEx integration currently offers three payment types
Sender - The payment is borne by the sender of the shipment.
Recipient - The payment is borne by the recipient of the shipment. This option is the default and used when the company is issuing return shipping labels to the customer to ship the product back to the company. When this option is selected, the account number defined in system settings is used as the payment account.
Third Party - The payment is borne by a third party other than the sender or receiver. This option should be used when the company is shipping products from the customer to a third part reapir sender or vice versa. When payor is third party, the details of the third party will need to be mapped to appropriate fields, including account number.
.png)
Field setup tips
The goal here is to provide you with as much flexibility as possible in the configuration. Since we are mapping fields to the action and not static values, it gives you the ability to dynamically change the shipment attributes using other automations like changefield action, lookup or choice fields.
If you need static values for these inputs, you can define text fields with default value being the static value you need.
Data Validation
FedEx is very particular with the data it accepts via the API. It is recommended that certain fields are setup as choice fields to eliminate the possibility of failures.
Fields with enumeration requirements
Shipper & Receiver Country -See this link for country codes.
Shipper & Receiver Province
Pickup Type - See this link for Pickup Types
Service Type - See this link for available service types in US Region.
Packaging Type - See this link for package types and weight limits.
Package Weight Unit - Use KG for kilogram, LB for pounds, G for grams, OZ for ounce.
Field type requirements
Shipping label output field has to be a ‘File’ field as it has to hold the FedEx shipping label as a pdf. The shipment cost output field and package weight value field must be a float fields.
Please ensure enough provisions are put in place to ensure that the addresses are correctly entered. FedEx checks the Postal code against the province and will show an error if the postal code is for the wrong province. The action does not do any other validations on the address.
Once the action is created, use a trigger or button to trigger the action in the workflow.
Provide enough safeguards so that multiple shipments are not created. It is recommended to put a {NotEquals ‘null’} check for either the label or tracking number fields for the trigger/button.
Triggering the action with a button
.png "image(13).png")
The action will create a history record on the object.
.png "image(14).png")
The details button on the history will give you the Raw Request and Raw Response for troubleshooting.
.png "image(15).png")
Moving the project to production
Create production keys
Once the setup is complete, you will need FedEx to certify the API before you can use the production environment.
Set up the production key from the developer portal and enter then in TeamTracks under system settings.
.png "image(16).png")
API certification
Follow instruction on the API certification page [https://developer.fedex.com/api/en-us/certification.html] to certify the API.
API certification is a 7 step process. You can start at step 3 as steps 1 and 2 are already done.
Since you will be emailing the shipping label to the customer, create a test shipping label using the test credentials and send the pdf file to FedEx along with the label cover sheet.
.png "image(18).png")
Switch TeamTracks to use production environment.
Once the API is certified by FedEx, switch the environment type to production under system settings and you are ready to issue return labels automatically to your customer.